 A lot has been written about PX100 since March 22nd, 2010, when The Impossible Project finally announced the release of the first new Polaroid SX-70 compatible instant film since Polaroid exited the film business a few years ago. Reactions were mixed with some lauding the efforts of TIP and others disappointed with the results they were seeing.
Initially I didn't feel like jumping on the Internet to be the first to buy some packs but after a few days I decided to take the plunge and try the film for myself. Even as I made my order, I was still not overly impressed with what I was seeing on the the web but I was curious to see what I could achieve myself. Also, I kind of felt like I was investing in the future of instant film. If the PX100 didn't sell, would TIP continue their R&D to develop more films?
Anyway, on to my review...
First some facts:-
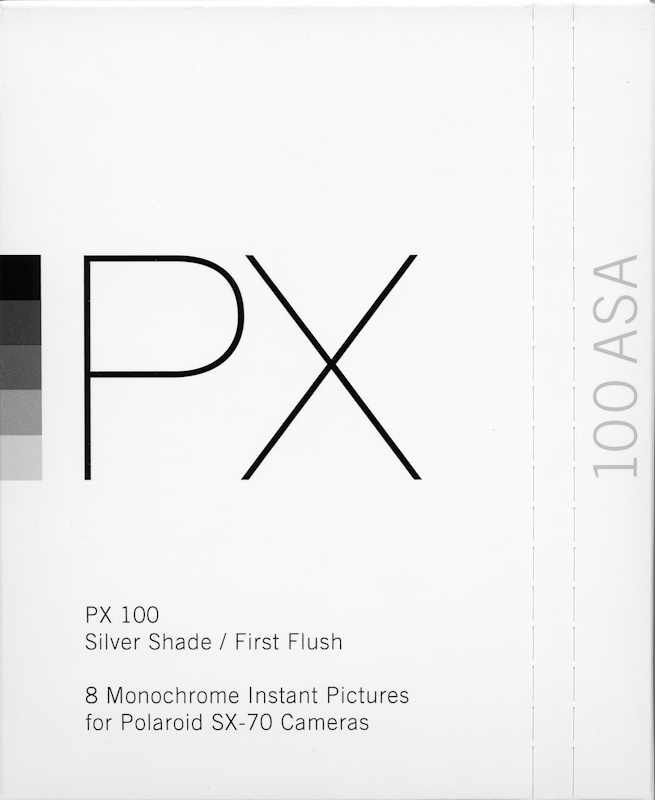
- PX100 Silver Shade / First Flush is rated at ISO 100.
- There are 8 photos per pack.
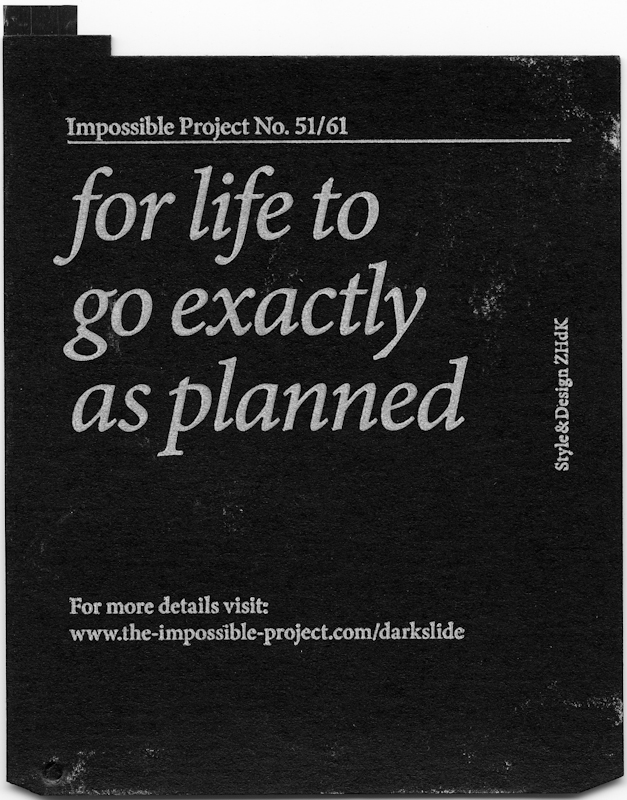
- The Dark Slides (the piece of card that covers the pack and gets ejected when you first insert the film) have quotes on them and are intended to be collectible (maybe). Artists will be invited to create art for the Dark Slides in the future.
- The film is designed for integral cameras like the Polaroid SX-70.
- TIP admit the film is very sensitive to outside factors.
- TIP recommend that the film be used in a narrow temperature range of 17-24°C / 63-75°F. Outside this range, you run the risk of a photograph that is too light when cold or too dark when warm.
- The opacifaction layer is not 100% light proof which means the film can continue to be (over) exposed if not covered immediately while it is developing.
- Developing takes about 60 to 90 seconds.
- The images are monochrome and have a sepia tone to them.
- Cost is $21 per pack. When I ordered, there were no packs available in New York so I had to pay for shipping from Europe ($25 - ouch!!).
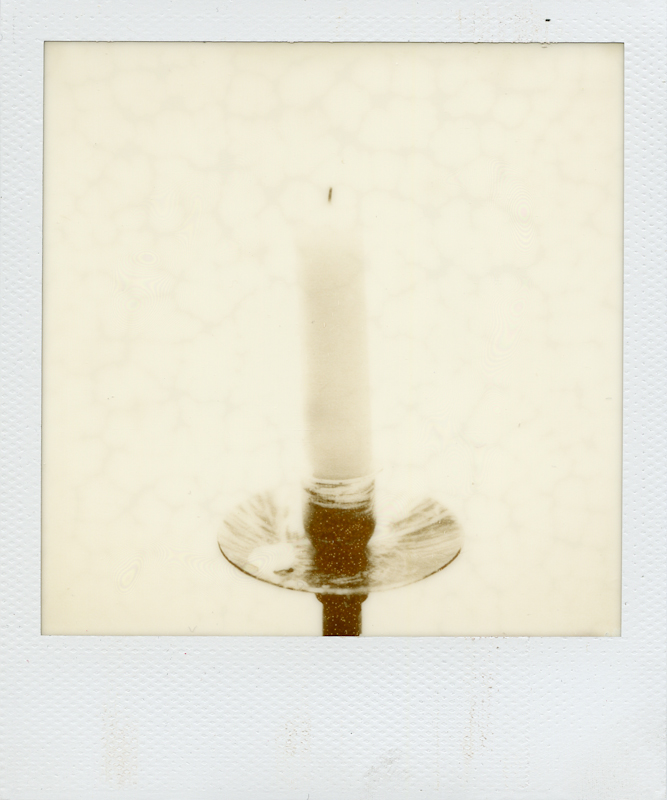
My first few shots were test shots taken in my kitchen under florescent lights. Being aware of the temperature limitations I took note that it was 20°C/68°F.
First of all, it is very noticeable that the photo is very light. This could be due to continuing exposure after the film ejected, a known problem. Also, there were spots on the photo and a kind of mottling in the light areas.
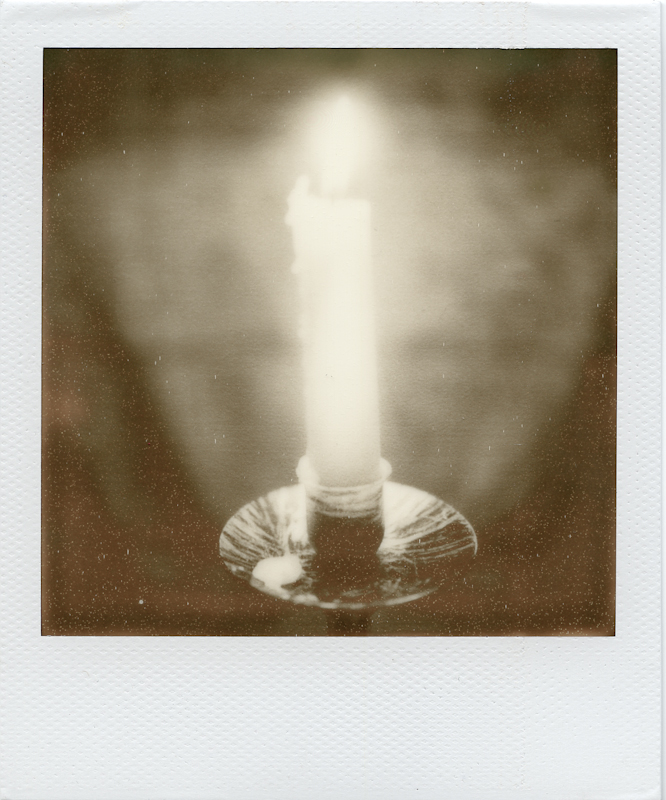
I took two more shots, this time with the candle lit and I also played around with the exposure wheel.
For the 3rd shot I moved the exposure wheel all the way to dark. The spots seen on the first shot are more pronounced in the dark area of frame 3.
The next day I tried the film outside. It was around 13°C/56°F outside so for these tests, I planned to immediately put the photo into my back pocket after it was ejected to keep it warm. Also, to prevent over exposure after the film was ejected, I taped the dark slide to the front of the camera so the film would be covered after it came out.
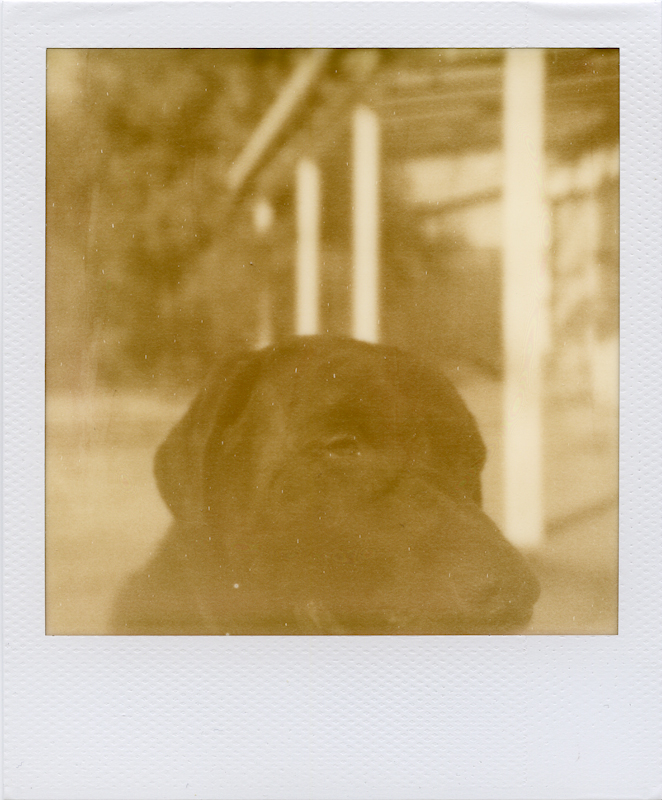
The first shot was completely blank. Well, there is a very, very faint image of my dog Sassy (if you play with the exposure in Lightroom).
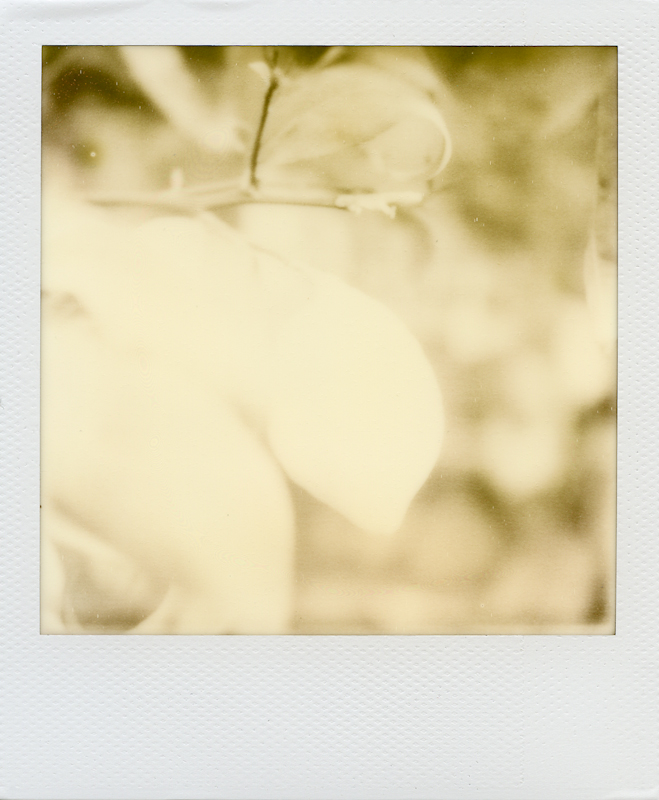
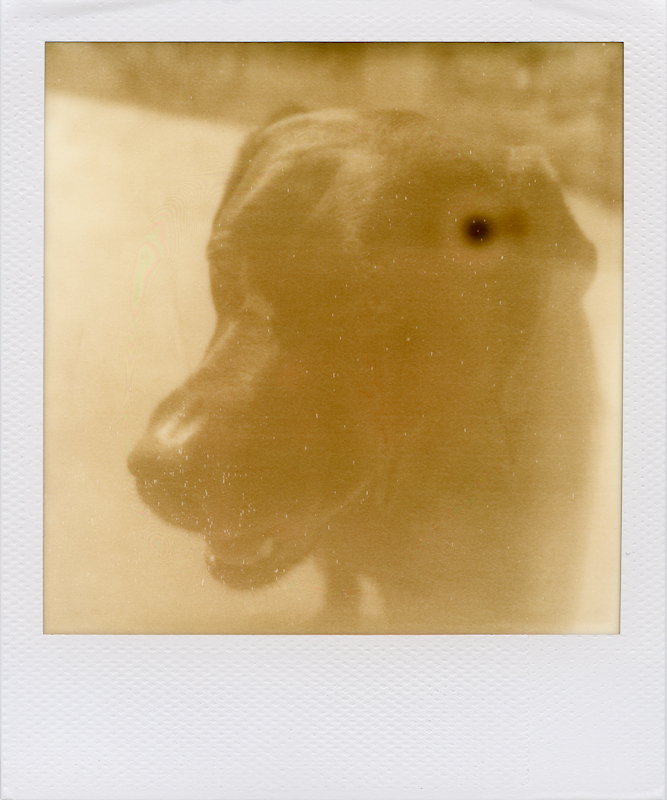
Frames 4 and 5 are very light. At least there is some image in frame 4 but frame 5 is completely washed out.
Later in the week, I tried again. This time it was 22°C/73°F and sunny outside so I didn't expect any lightening due to cold temperature. Because of the sun, I did expect a potential for over exposure so I once again used the dark slide taped to the front. But, the shots were still quite faint with very low contrast.
Frame 8 had a dark spot on it. I read that this can occur if there is a warm spot but both frame 7 and 8 developed in my back pocket so I am not sure what went on here.
So, my opinions based on this first pack are:-
- Correct exposure is quite difficult even when the ambient temperature is inside the range 17-24°C / 63-75°F.
- The opacifaction layer not being 100% light proof means that to avoid continuing exposure you need to get the photograph out of the light as soon as possible after it is ejected. You should also shield the photo as it comes out of the camera.
- The photos are very low in contrast even when you think you are doing everything right.
- Don't forget there are only 8 frames per pack. The SX-70 expects 10 shots so after you shoot the last frame, the camera will still tell you that there are two shots left.
- The rollers of the camera will probably need to be cleaned between packs. At least on my cameras, there was a lot of dried chemical residue on the rollers after the first pack.
- There are spots in the dark areas (not sure if this is due to the film or the camera rollers).
Finally, I believe that if SX-70 Time-Zero film was still readily available today, this film would never have been released. It is clearly far from being a polished product. But as a first effort created from scratch, it is not a bad attempt. I think a lot more research is required to make the film more stable. The film needs to be more temperature tolerant and opacifiaction layer needs to be more light proof. Part of the magic of Polaroid was seeing the photo develop in front of your eyes after all. Also, I'd like to see more contrast in the images. Right now the photos look a little flat to me.
Of course, I am not an artist. You can see what real photographers are doing with the film on the TIP Collection website. Also, it is worth checking out the Impossible Project and the PX100 Flickr Groups.
Postscript: Since I started writing this post, I opened a second pack and I am a lot more pleased with the results. You can see the first shot here.
