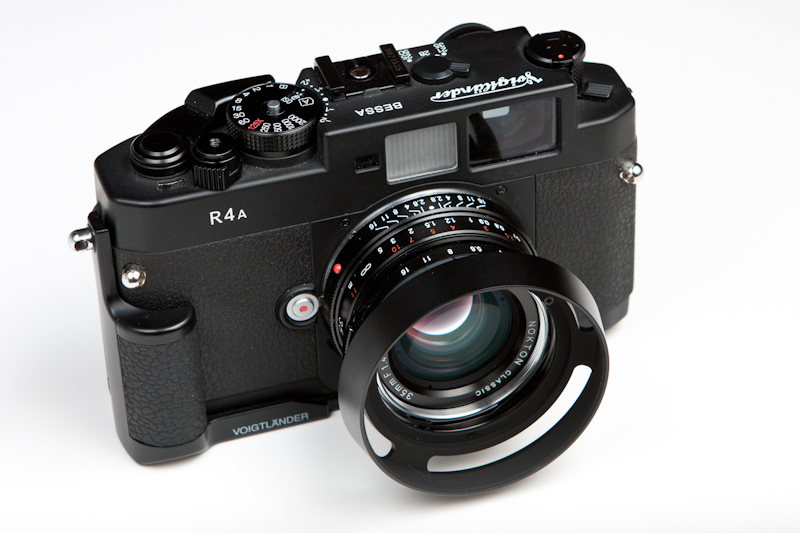
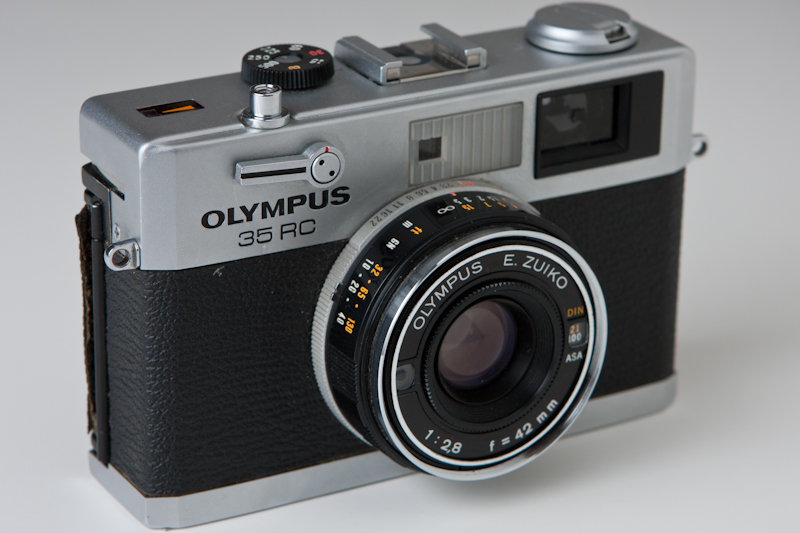
 Today I decided to take some shots of my Olympus 35 RC, a compact fixed lens rangefinder from the 1970s.
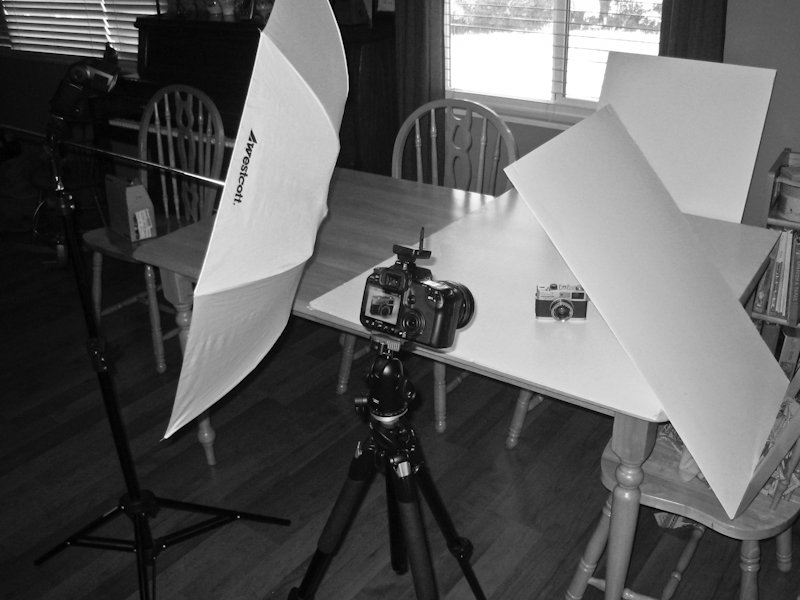
To take these shots, I was using a very basic "Strobist" set up with a Canon Speedlite 430 EX flash mounted on a stand firing through an umbrella camera left. I also used some white foam core on the right to reflect back some fill. The flash was fired remotely using an Elinchrom EL Skyport Universal radio trigger.
The camera I used was my trusty Canon 40D with a 24 to 70mm L f/2.8 lens. I metered using a Sekonic L-308s Flashmate meter.
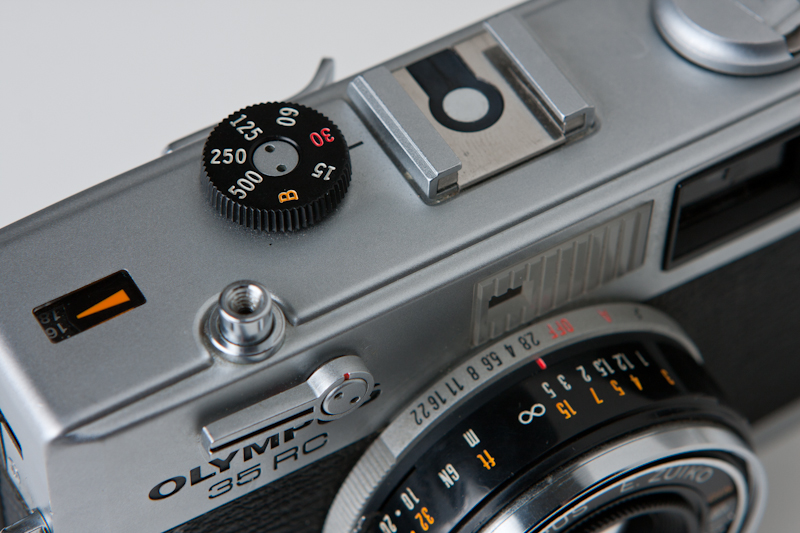
I am still learning flash photography so came upon a few problems. One of those can be seen in this following shot.

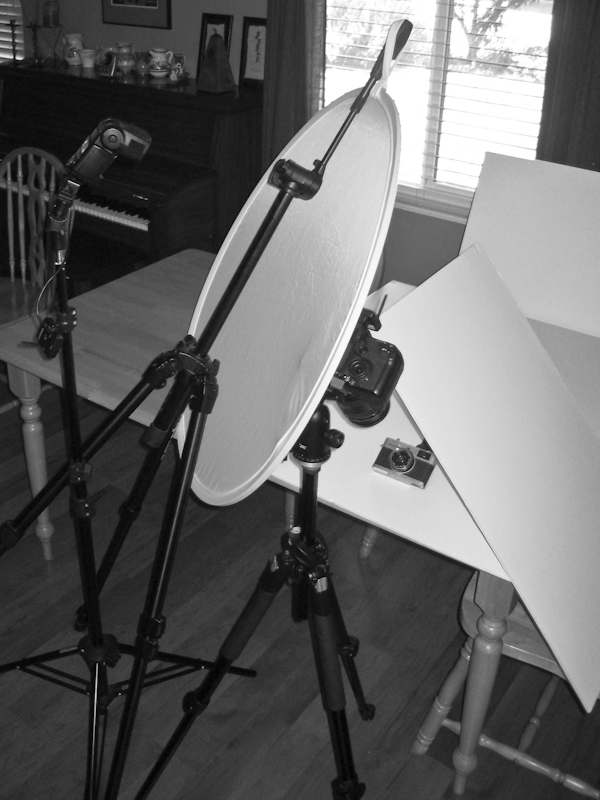
Reflected in the lens is the clear outline of the umbrella. I would have preferred for this to not be so obvious. I tried playing with angles and also with the set up you see below but I wasn't happy with the results. In this set up I am firing the flash through the diffuser part of a Photoflex multi-disk but the reflection was still too noticeable. Still a lot for me to learn for sure.
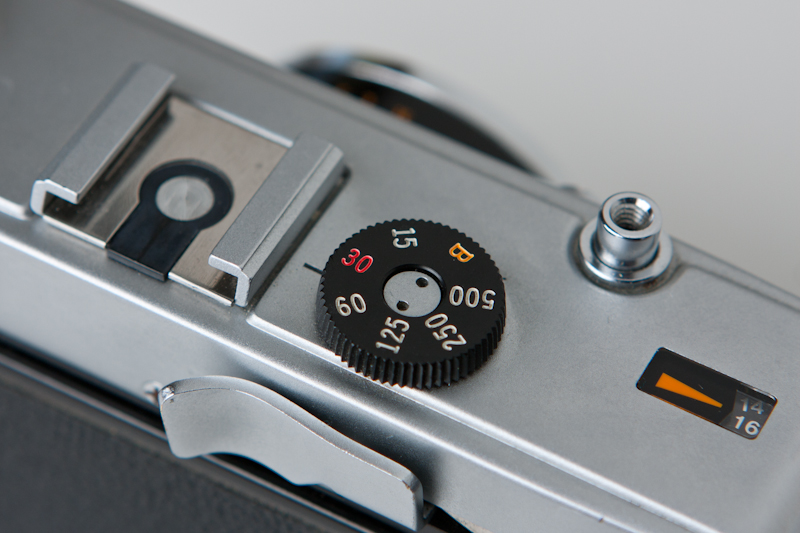
For all of the shots I set the camera on manual mode with the shutter speed set at 1/60. There was daylight coming in from an open door camera right and also through a window behind the subject so I wanted to use some of the ambient light.
Most of the shots were shot using an aperture of either f/8 or f/11 except the photograph above which was shot at f/5.6. I found with apertures less than that the depth of field wasn't as pleasing to me. The flash was used in manual mode and the power was set from 1/2 to 1/8 depending on what aperture I was using or the distance of the flash from the subject.
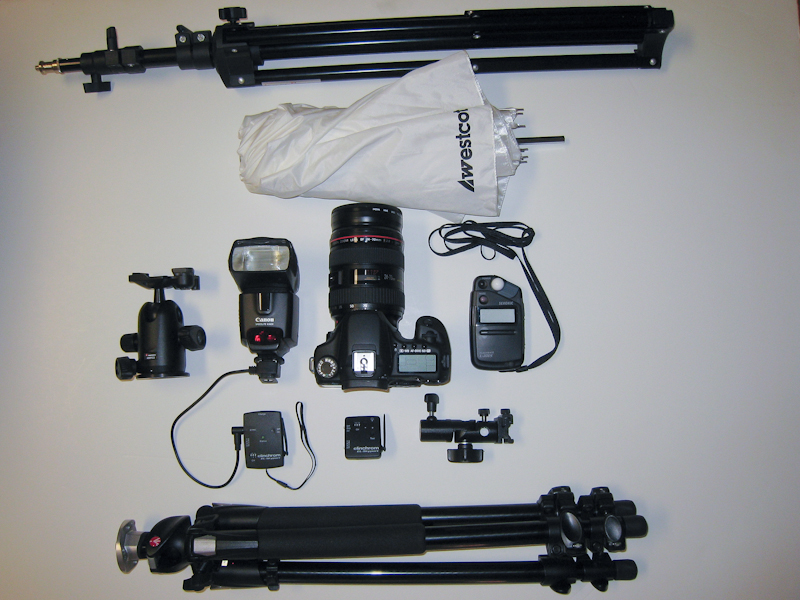
The photograph above shows most of the gear I used today. At the top is an Interfit light stand and Wescott shoot through umbrella. On the next row is a Manfrotto 498RC2 ball head. Next to that is my Canon Speedlite 430 EX flash with a hot shoe to PC adapter connected to the Elinchrom El-Skyport receiver below. Next to the flash is the Canon 40D with the 24 to 70mm L f/2.8 lens and next to that is the flash meter, a Sekonic L-308s.
Below the 40D, is the matching Elinchom trasmitter and some no-name light stand adapter. At the bottom is a Manfrotto 190XPROB Pro Aluminum Tripod.
As I said I am still learning this type of photography so there is a long way to go before I will be truly happy with my images. But it is always a good idea to shoot as often as possible and learn from the experience each time.
Below are the rest of the "keepers" from today.


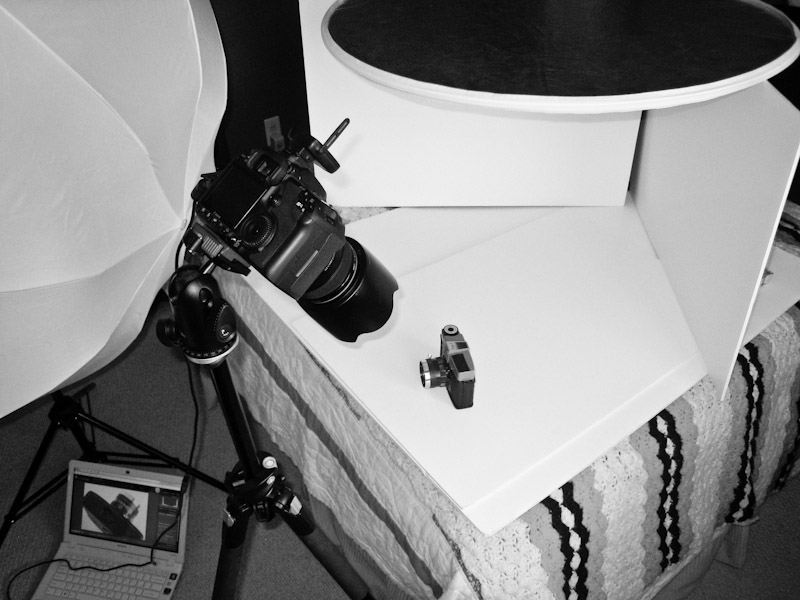 Behind the scenes at a shoot in my studio, ... eh... I mean, spare bedroom. This shoot was for an upcoming blog post which should be posted in the next few days.
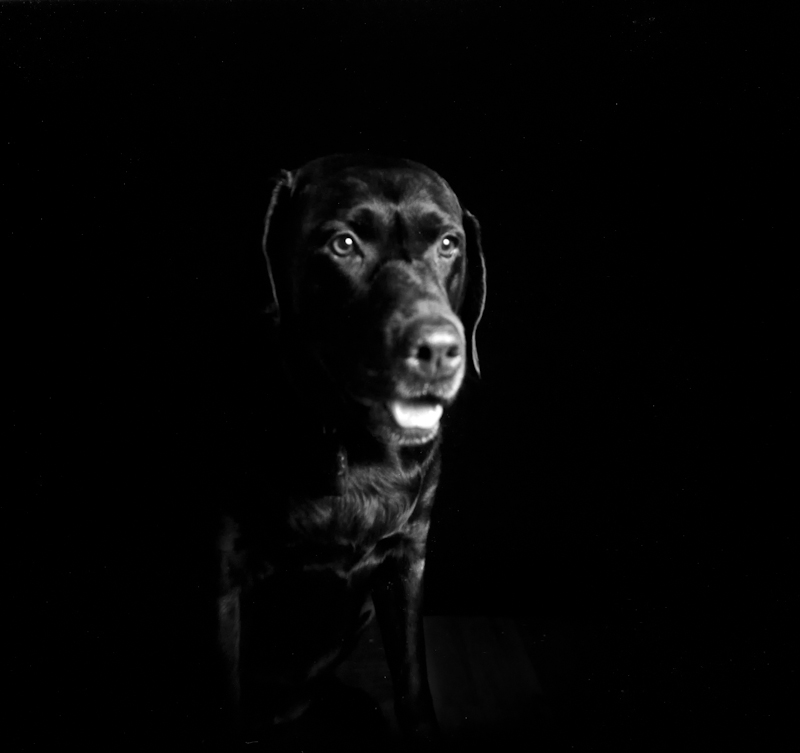
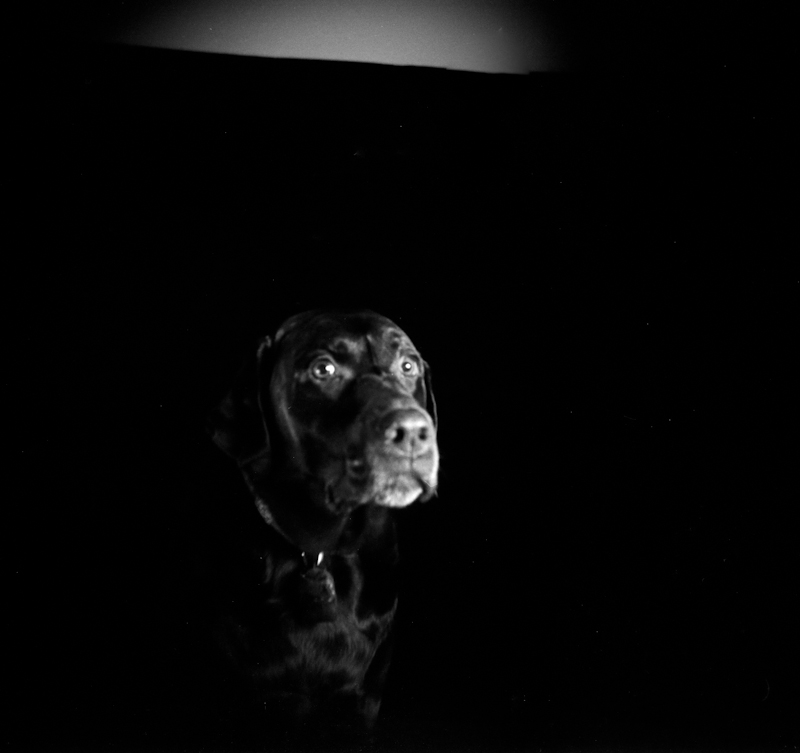
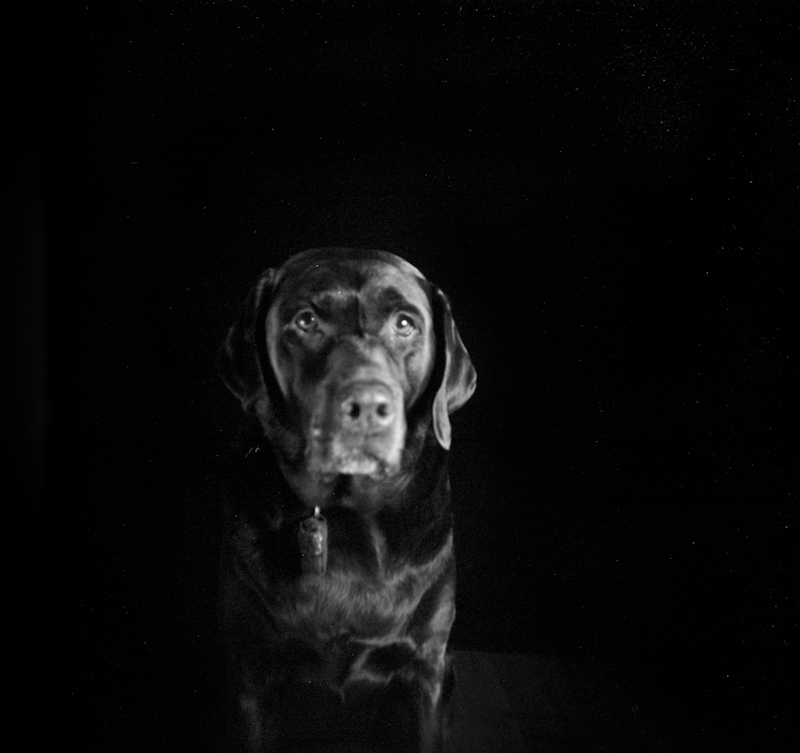
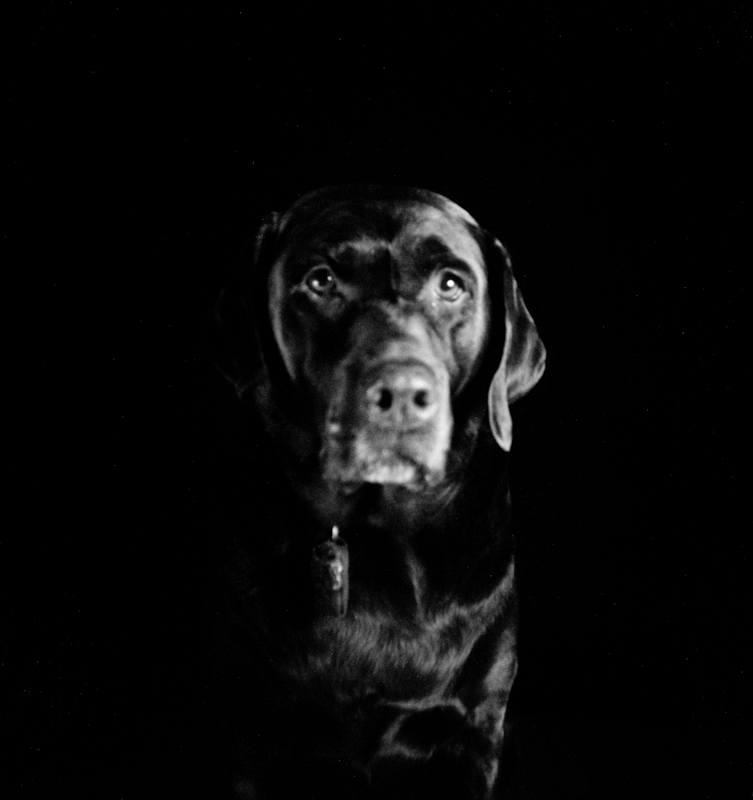 This photo of my dog, Sassy, was an experiment in using a
 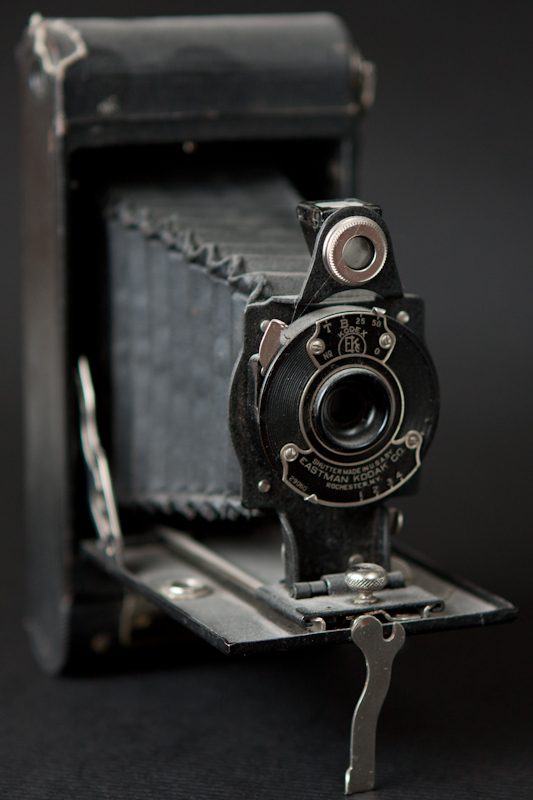 I need to dust my cameras.
 Today I decided to take some shots of my Olympus 35 RC, a compact fixed lens rangefinder from the 1970s.


